(continued from Insert a new Date Range)
If a supplier advises that another rate period is available (e.g. 24 Dec – 02 Jan), or an error in setting the dates has been made, then inserting a new date range inside an existing date range requires the existing date range to be split.
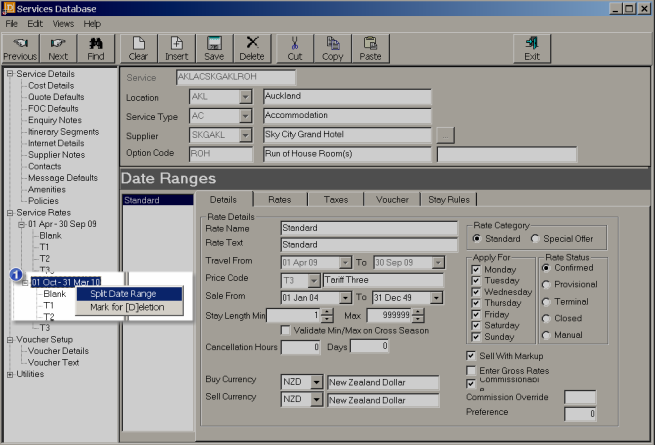
Screen Shot 56: Split Rate Period

|
|
A rate can be inserted for all price codes in a date range by highlighting the date range and right clicking; or insert a rate for a single price code within the date range by highlighting the price code and right clicking. |
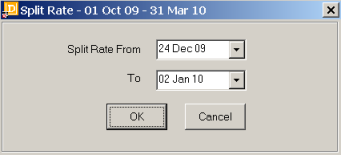
Move the mouse pointer over the date range/price code to be split and right click. A sub menu opens with two choices – ‘Split Date Range’ and ‘Mark for [D]eletion’. Click on ‘Split Date Range’. This will open a small window in which the start and end dates of the split can be entered.
Screen Shot 57: Split Rate Dialogue

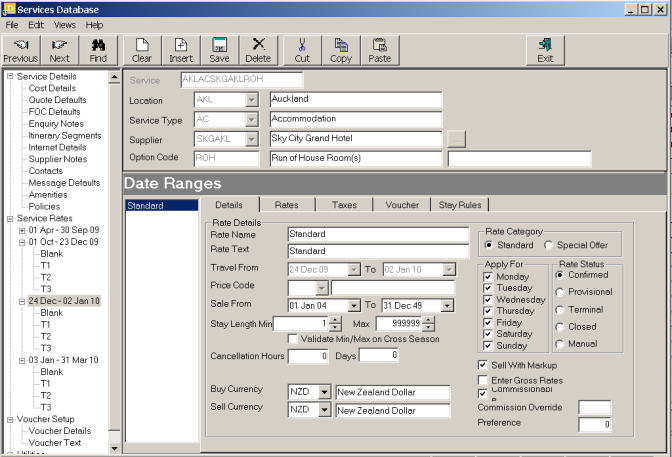
When ‘OK’ is clicked, the new date range will be inserted, with all Price Codes and rate types from the original date range.
Screen Shot 58: Split Date Range Result

Splitting the rate performs the following functions automatically:
The rates for the new date range can now be edited via the Option Rates tab.